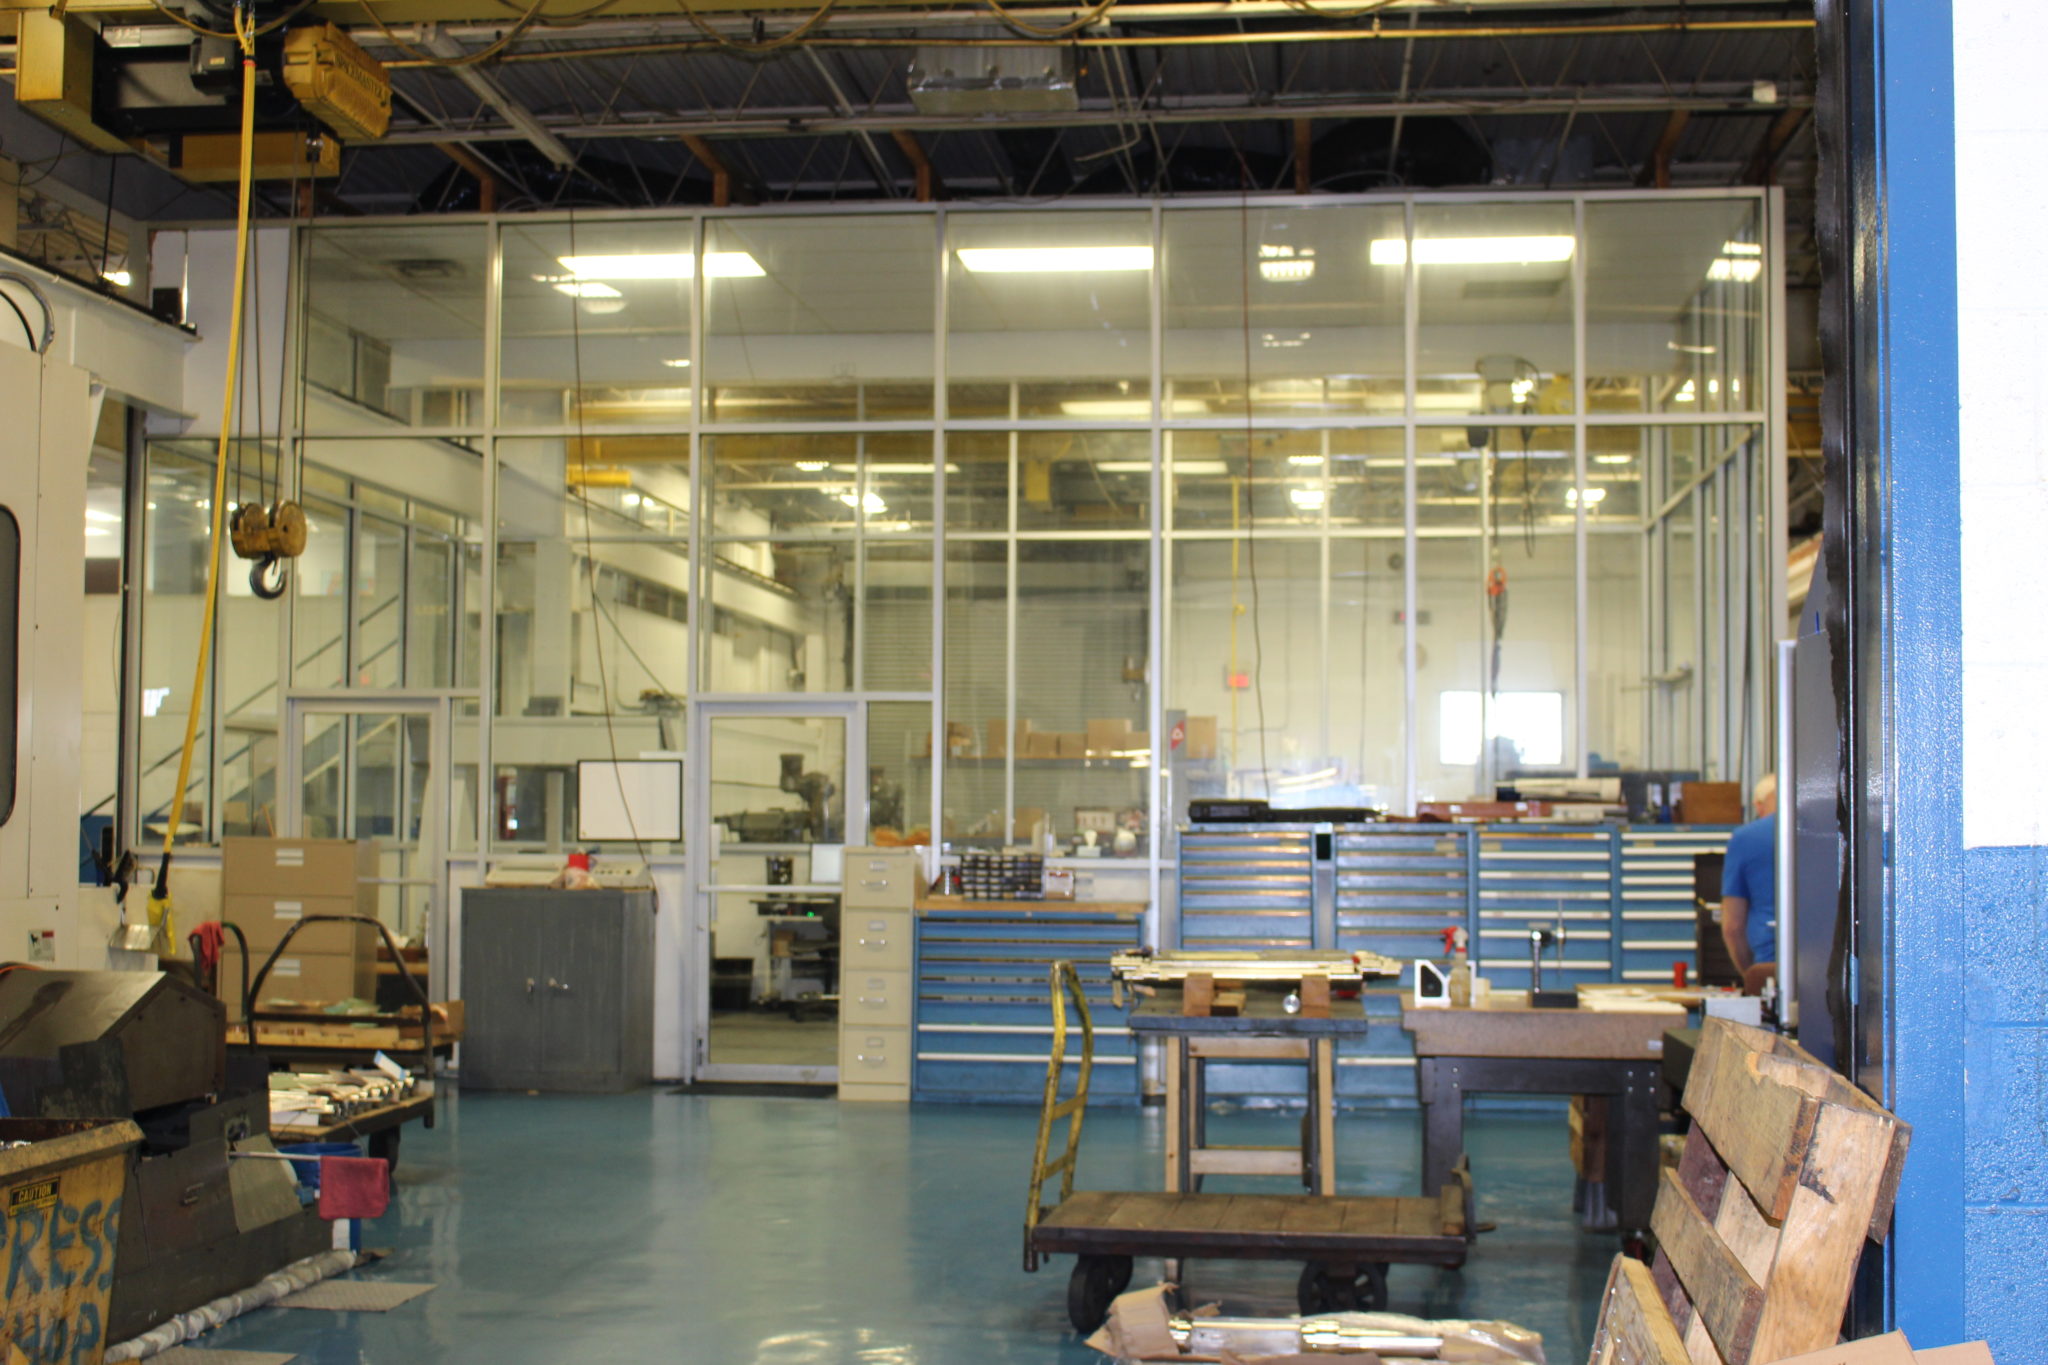
Btec staffs around 100 employees, including machinists, engineers, programmers and the very important Quality Assurance team. More than 10% of Btec’s work force works in Quality Assurance and Quality control, second to only the percentage of machinists on our shopfloor. We employ 3 full-time CMM (coordinate measuring machine) inspectors, dedicated to checking the parts Btec creates, located in our glass room. Our glass room is at the very center of our manufacturing operation’s process.
Our glass room houses 4 CMM machines that have the ability for high-speed scanning and produces large amounts of data for the QA team to analyze. The CMM machine will laser measure every critical feature, tolerance, and surface recording the data for all of the angles, cuts and specifications for assisting our CNC Team and providing a record to our customers. The added upgraded to PCDMIS 2017 software has given the Team an updated level of software capabilities keeping our qualifications on the front row of the manufacturing industry curve.
Documenting every step in our manufacturing and quality process is an integral part of our daily procedures. QA measures the machined parts against our customer’s specifications and blueprints and records the information to our quality systems. Our ERP system connects with our QA specific QCBD (Quality Collaboration by Design) to log all of the data our CMM machines receive while going over every millimeter of the item being tested. All quality documentations from certifications and customer specifications are electronically attached to the product throughout the process. Our ERP system provides us with all the tracking, traceability and documentation required from raw material receipt to finished product shipment. We are documenting workflow, timelines, and verification of testing simultaneously.

